By Craig Klinge, MiTekFabricator Support Manager/Engineer
As I sit down in front of my inbox, I see several emails with subject headings that start with “Rectification required…” And on at least five occasions each week (which averages once every working day), I read the statement, “…installed the wrong way around”.
The ramifications of installing a truss in the wrong location/orientation, are just as great as unapproved truss modifications. (Read GN Guideline No 213 “Dreaded R Word” at mitek.com.au/Publications/GN-Guidelines.)
The most common situation where misorientation occurs is when a seemingly symmetrical truss has an offset internal support location. A careless installer after a quick job, pays no notice to the internal support sticker on the truss, which indicates a specific orientation.
By the time it is discovered, it is usually too late or too difficult to turn the truss around, because the crane has gone, or the battens and other fixtures have been installed.
If the central support point is an internal wall, and the truss is symmetrically loaded, then in most cases the rectification is not too complex as long as the centre support is offset not too far from midway.
But if the central support point is a wall to an outdoor verandah, the loading is no longer symmetrical because the wind pressures underneath the ceiling between inside and outside are different. This requires more complex analysis and rectifications.
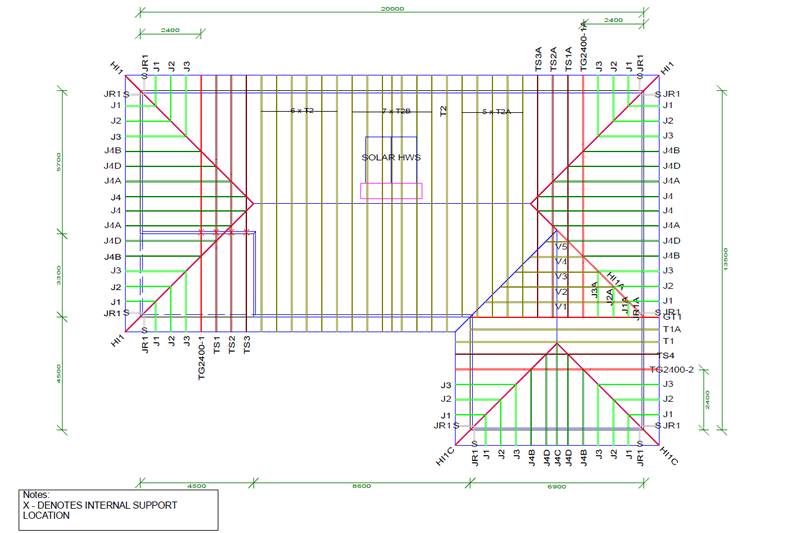
Other asymmetrically loaded trusses that are less obvious to the eye include trusses that have been designed to support a solar hot water system or photovoltaic panels on one side of the roof, or trusses that may have uneven ducting or service loads within the roof space or hung from the ceiling. These trusses usually have higher grade members or larger Gang-Nail plates where they are more heavily loaded, and have stickers that indicate the locations of these supplementary loads.
Sometimes there are two girder trusses that appear the same, but are in fact mirrored to each other, and required in different locations.
In all cases, it is important to locate the labelled truss in accordance with the truss layout plan.
While fairly simple rectifications can generally be provided to remedy the situation, if there are high dead or wind loads, it may be much more difficult to achieve a cost-effective solution. Various truss components may have to be strengthened or more members added. Supplementary members fixed with nails, screws or bolts are never as strong or rigid as a nailplated joint. They also require edge distances that may not be achievable.
Finally, there’s the cost of engineering fees, materials and labour to “make good” a totally avoidable act of carelessness.
Stop trouble early
So how can we avoid what seems a simple process of installing trusses in the correct orientation?
A detailed truss layout is always supplied with the delivery of trusses. Since not all fabricators format the information in the same way, it is important to stop and study the layout for just 5-10 minutes, noting anything out of the norm, before beginning to lift the trusses up onto the walls.
Critical items like internal supports, solar systems, and duct work voids, are normally marked or highlighted in the layout.
Physically check the stack of trusses, and note any internal support and additional load stickers (or handwritten or painted markings), including any voids for air conditioning units or ducting.
Are there any other identification markings? Are the trusses asymmetrical in web layout, or have an obvious difference in timber species/grade or Gang-Nail plate size?
Only after you are familiar with the layout and the trusses on the ground, are you ready to erect them with confidence in exactly where and in which way around they should be positioned.
For more GN Guidelines by MiTek, visit www.mitek.com.au/Publications/GN-Guidelines
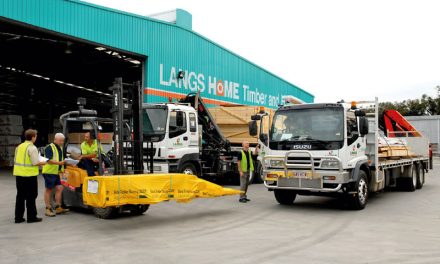
Image: Stopping work to study a detailed truss layout before you begin installation will stop many problems from developing.


